
Disable SSH Root Login: Step-by-Step Security Hardening
The root account is the most powerful user on any Linux server, which is why attackers target it first. This guide shows you how to disable SSH root login safely, step by step, so you don't lock yourself out of your own VPS.
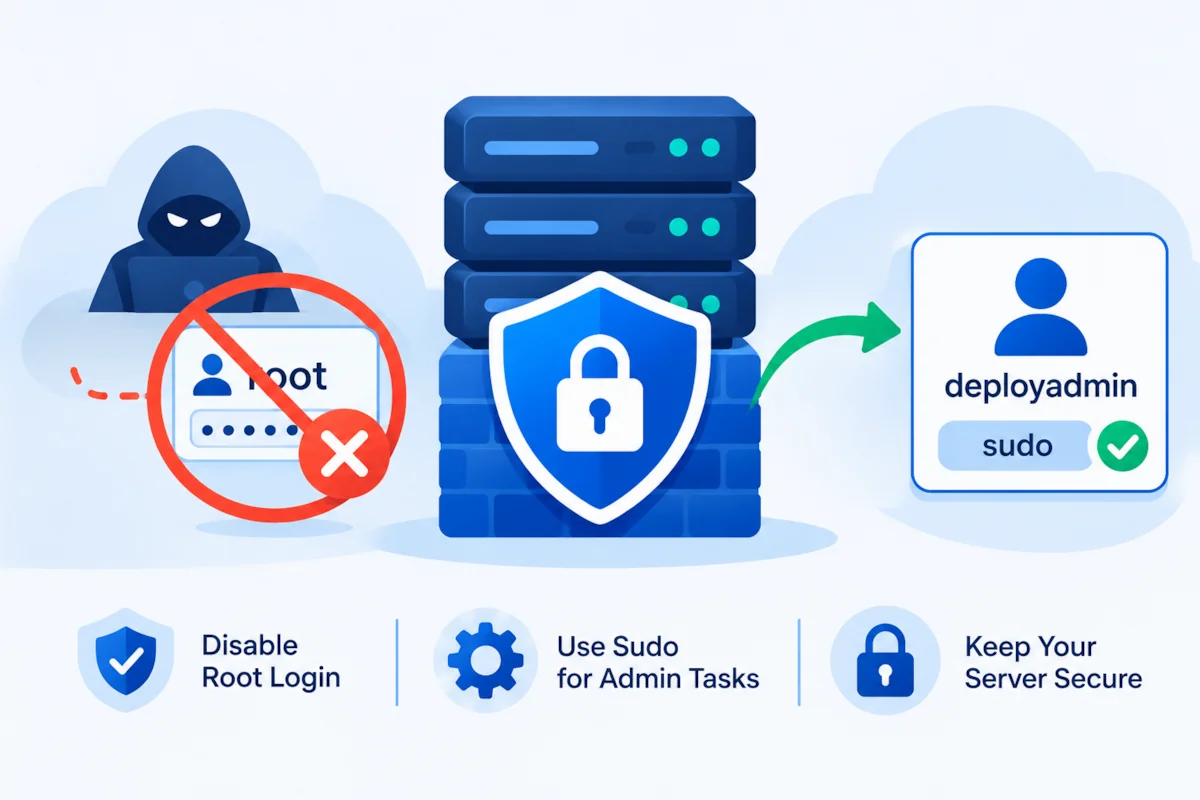
The root account is the most powerful user on any Linux server. It can read every file, change every setting, and remove anything. That power is exactly why attackers target it first.
Automated bots try to log in as root on servers around the world, all day long. If your server allows root login over SSH, every password guess goes straight at the account with the most access.
The fix is simple: disable SSH root login. This guide shows you how to do it safely, step by step, so you don’t lock yourself out of your own VPS.
Why Disabling Root Login Matters
Disabling root login over SSH gives you three clear benefits:
- Fewer targets: Bots lose their favorite username. Login attempts for root stop working.
- Better accountability: When you log in as a named user and then use sudo, the logs show who ran each command. With root, the logs only show “root.”
- Smaller damage: A compromised regular account has fewer permissions than root. Attackers have to work harder to do real harm.
This is one of the easiest hardening steps you can take, and it takes only a few minutes.
Before You Begin
Get these things ready first:
- A non-root user with sudo access. If you don’t have one, create it now.
- Working SSH key access for that user. Password login will be disabled later, so keys matter.
- A backup way into the server. Most hosting providers offer a web console. Know how to open it before you change anything.
- An open SSH session. Keep your current connection running while you make changes.
Skipping these steps is the most common reason people lock themselves out.
Step 1: Create a Sudo User
Log in as root and create a new user. Replace deployadmin with a name you like:
adduser deployadmin
Give the user sudo rights:
usermod -aG sudo deployadmin
On CentOS or RHEL, use the wheel group instead:
usermod -aG wheel deployadmin
Step 2: Add Your SSH Key to the New User
Copy your public key to the new account. From your local machine, run:
ssh-copy-id deployadmin@your-server-ip
If ssh-copy-id isn’t available, add the key manually. On the server, as the new user:
mkdir -p ~/.ssh
chmod 700 ~/.ssh
nano ~/.ssh/authorized_keys
Paste your public key, save the file, and set the right permissions:
chmod 600 ~/.ssh/authorized_keys
Step 3: Test the New Login
Open a second terminal on your local machine. Log in with the new account:
ssh deployadmin@your-server-ip
Check that sudo works:
sudo whoami
The output should be root. If it is, you have a working admin account. Don’t continue until this test passes.
Step 4: Back Up the SSH Configuration
Before you edit the SSH settings, save a copy of the current file:
sudo cp /etc/ssh/sshd_config /etc/ssh/sshd_config.bak
If something goes wrong, you can restore the original with one command.
Step 5: Disable Root Login
Open the SSH server configuration:
sudo nano /etc/ssh/sshd_config
Find the PermitRootLogin line. It may be commented out with a # at the start. Change it to:
PermitRootLogin no
Save the file. In nano, press Ctrl+X, then Y, then Enter.
Some servers include extra files in /etc/ssh/sshd_config.d/. Those files can override the main setting. Check them too:
sudo grep -r "PermitRootLogin" /etc/ssh/
Make sure every match says no.
Step 6: Check the Configuration and Restart SSH
Before you restart the service, test the configuration file for errors:
sudo sshd -t
No output means the syntax is valid. If you see an error, fix it before going further.
Restart the SSH service:
sudo systemctl restart ssh
On CentOS or RHEL, the service is called sshd:
sudo systemctl restart sshd
Step 7: Test the Change
Keep your original root session open. Then open a new terminal and try to log in as root:
ssh root@your-server-ip
You should see a “Permission denied” message. That confirms the change works.
Now test your admin account again:
ssh deployadmin@your-server-ip
It should log in normally. Only close your old session when both tests behave as expected.
Step 8: Use sudo for Admin Tasks
From now on, log in as your regular user and run admin commands with sudo:
sudo apt update
sudo systemctl status nginx
Each command is logged under your username, so you always know who made a change.
Optional: Allow Only Specific Users
For tighter control, limit SSH access to named accounts:
AllowUsers deployadmin
Add this line to sshd_config, then run sudo sshd -t and restart SSH. Any user not listed will be blocked, even if they have a valid password or key.
Be careful with this setting. If you add it without including your admin account, you will lose access.
Alternative: Allow Root With Keys Only
Some teams prefer to keep root reachable with a key while blocking password logins. In that case, set:
PermitRootLogin prohibit-password
This setting is a middle ground. It is better than leaving root open to passwords, but a fully disabled root login is the stronger choice for most VPS setups.
Troubleshooting
You are locked out after the change. Use your hosting provider’s web console to log in. Restore the backup with sudo cp /etc/ssh/sshd_config.bak /etc/ssh/sshd_config, then restart SSH.
Your sudo user can’t run commands. Check group membership with groups deployadmin. On Ubuntu, the user should be in the sudo group. On CentOS, it should be in wheel.
The setting seems ignored. Look for overrides in /etc/ssh/sshd_config.d/ and make sure no later line sets PermitRootLogin yes.
Your automation scripts stopped working. Scripts or CI pipelines that log in as root need a deploy user with sudo. Update the username and key in your tools.
Hostzop Cloud: Harden Your VPS From Day One
Disabling SSH root login is one of the simplest ways to protect a VPS, but it works best as part of a complete setup. Hostzop Cloud provides VPS hosting for Indian businesses with a security-first foundation, so your team can apply hardening steps like SSH hardening, sudo user setup, and server access control with confidence. Our documentation covers common Linux tasks, and our support team helps you when you need a second opinion. With transparent INR pricing, Hostzop Cloud gives startups and SMBs a secure cloud server without the cost of a dedicated security team.
Frequently Asked Questions
Will disabling root login stop all attacks on my server?
No. It removes one common target. Keep your system updated, use key-based SSH login, and consider Fail2Ban and a firewall such as UFW.
Can I still use root for emergencies?
Yes, through sudo from your admin account, or through your hosting provider’s web console if SSH is unavailable.
Does this affect SFTP or scp?
Yes. They use SSH, so root logins over those tools are blocked too. Log in as your admin user instead.
Do I need to reboot the server?
No. Restarting the SSH service applies the change. Your current sessions stay active.
What if my hosting provider created a root user with a password?
Set up your sudo user and confirm it works before you disable root login. You can also change or lock the root password with sudo passwd -l root once your admin account is tested.