
How to Build a Complete CI/CD Pipeline for VPS Hosting Using GitHub Actions
Manual deployment—SSHing into a server, pulling code, and restarting services—is a ritual that invites human error. As your project grows, this process becomes a bottleneck. Building a Continuous Integration (CI) and Continuous Deployment (CD) pipeline using GitHub Actions.
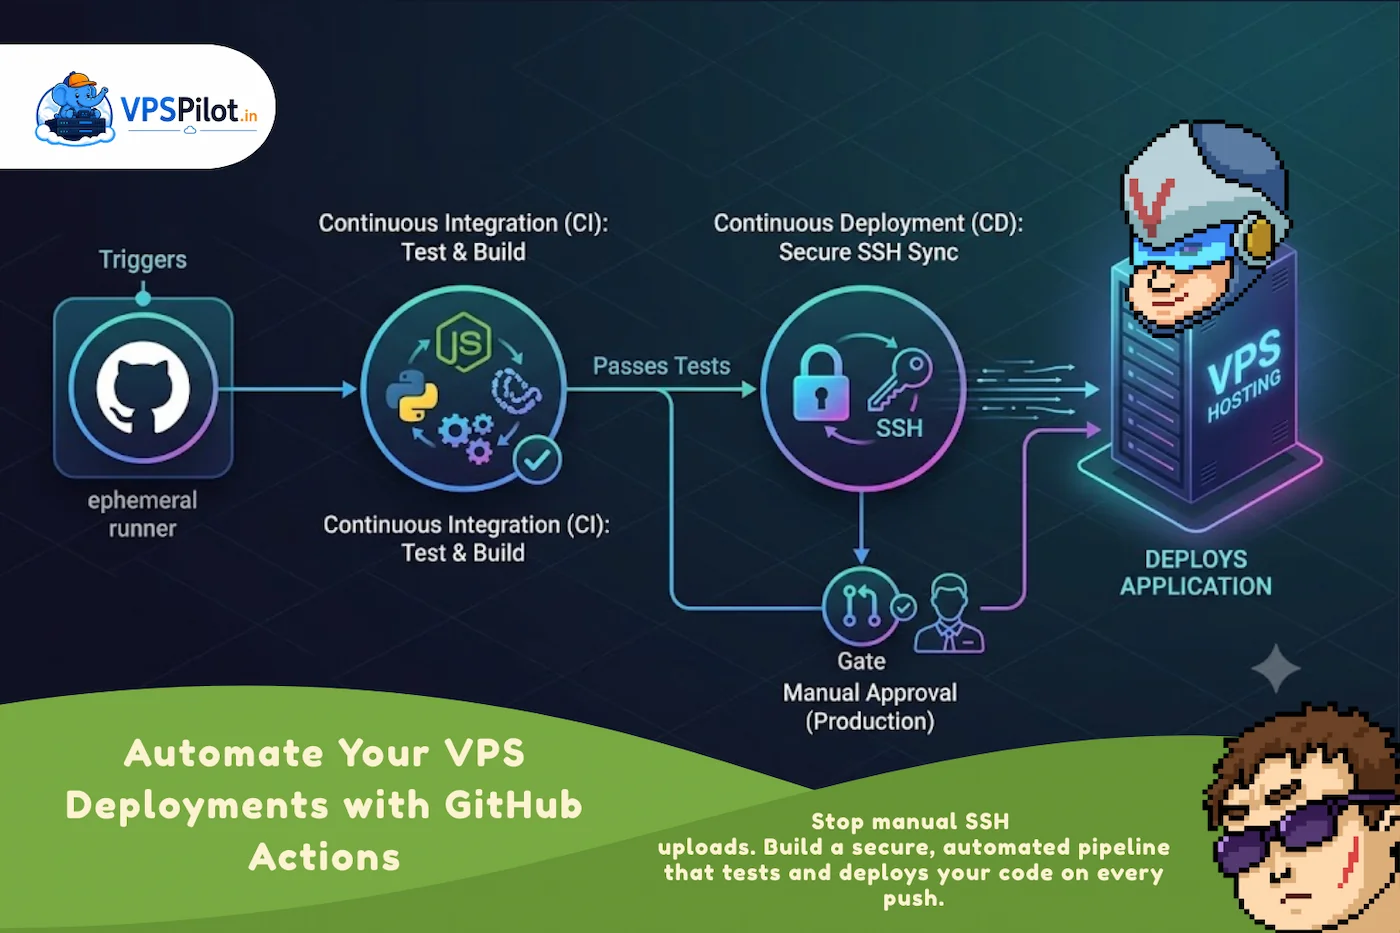
Manual deployment—SSHing into a server, pulling code, and restarting services—is a ritual that invites human error. As your project grows, this process becomes a bottleneck. Building a Continuous Integration (CI) and Continuous Deployment (CD) pipeline using GitHub Actions automates this entire flow, ensuring that every push to your repository results in a tested, deployed, and live application.
In this guide, we will walk through creating a robust pipeline designed specifically for Virtual Private Server (VPS) environments.
Understanding the Architecture
A modern CI/CD pipeline acts as a bridge between your local development environment and your production server. The flow typically follows these stages:
- Trigger: You push code changes to a specific branch (e.g.,
main). - Continuous Integration (CI): GitHub Actions starts an ephemeral runner, installs dependencies, runs linters, and executes test suites.
- Continuous Deployment (CD): Only if the tests pass, the runner connects securely to your VPS via SSH to update the application code and restart the necessary processes.
Building Your GitHub Actions Pipeline
1. Prerequisites
Before configuring the pipeline, ensure you have the following:
- A GitHub Repository: Containing your application source code.
- A Linux VPS: With SSH access configured.
- SSH Key Authentication: Never use password authentication for automated deployments.
Preparing SSH Access
Generate a dedicated SSH key pair for your CI/CD service:
# Run this on your local machine
ssh-keygen -t ed25519 -C "github-actions-deploy" -f ~/.ssh/github_actions_deploy
Copy the public key (.pub) to your VPS inside /home/deploy/.ssh/authorized_keys. The private key will be added to GitHub.
2. Configuring GitHub Secrets
You must never hardcode server IP addresses or private keys in your workflow files. Use GitHub Secrets to keep these credentials secure.
- Navigate to your repository on GitHub.
- Go to Settings → Secrets and variables → Actions.
- Add the following repository secrets:
- SSH_PRIVATE_KEY: Paste the contents of your GitHub Actions deploy private key.
- VPS_HOST: The IP address of your VPS.
- VPS_USER: The username created on your VPS (e.g.,
deploy).
3. Defining the Workflow
Create a file at .github/workflows/deploy.yml in your repository. This YAML file tells GitHub how to handle your code.
name: Deploy to VPS

on:
  push:
    branches: [ main ]

jobs:
  test:
    runs-on: ubuntu-latest
    steps:
      - uses: actions/checkout@v4
      - name: Set up Node.js
        uses: actions/setup-node@v4
        with: { node-version: '22' }
      - run: npm install
      - run: npm test

  deploy:
    needs: test
    runs-on: ubuntu-latest
    steps:
      - name: Deploy to VPS
        uses: appleboy/ssh-action@v1.0.3
        with:
          host: ${{ secrets.VPS_HOST }}
          username: ${{ secrets.VPS_USER }}
          key: ${{ secrets.SSH_PRIVATE_KEY }}
          script: |
            cd /var/www/myapp
            git pull origin main
            npm install --production
            pm2 restart myapp || pm2 start npm --name "myapp" -- start
4. Security and Maintenance Best Practices
- Dedicated Deploy User: Do not use root for automated deployments. Create a dedicated user with minimal permissions required to restart your specific application services.
- Use GitHub Environments: Define an environment (e.g., “Production”) within your repository settings to gate your deployments. This configuration allows you to require manual approval from a team member before the deployment proceeds, ensuring you maintain total control over your production releases.
- Caching Dependencies: To speed up your CI phase, use the
actions/cachestep to persistnode_modulesor pip packages across runs. - Ephemeral Runners vs. Self-Hosted: GitHub-hosted runners are perfect for most projects. However, if your build requires high-performance hardware, local network access, or specialized software, consider using a self-hosted runner directly on your infrastructure.
Conclusion
By moving from manual terminal commands to an automated pipeline, you gain consistency, faster deployment cycles, and, most importantly, the ability to test your code before it ever touches your server. With GitHub Actions, you have a free, integrated, and highly extensible tool to manage your deployments professionally.