
How to Deploy Applications Automatically with GitLab CI/CD
In modern software development, the gap between writing code and delivering it to users must be as small as possible. Manual deployments are the enemy of speed, consistency, and reliability. They introduce human error, create bottlenecks, and make it difficult to scale.
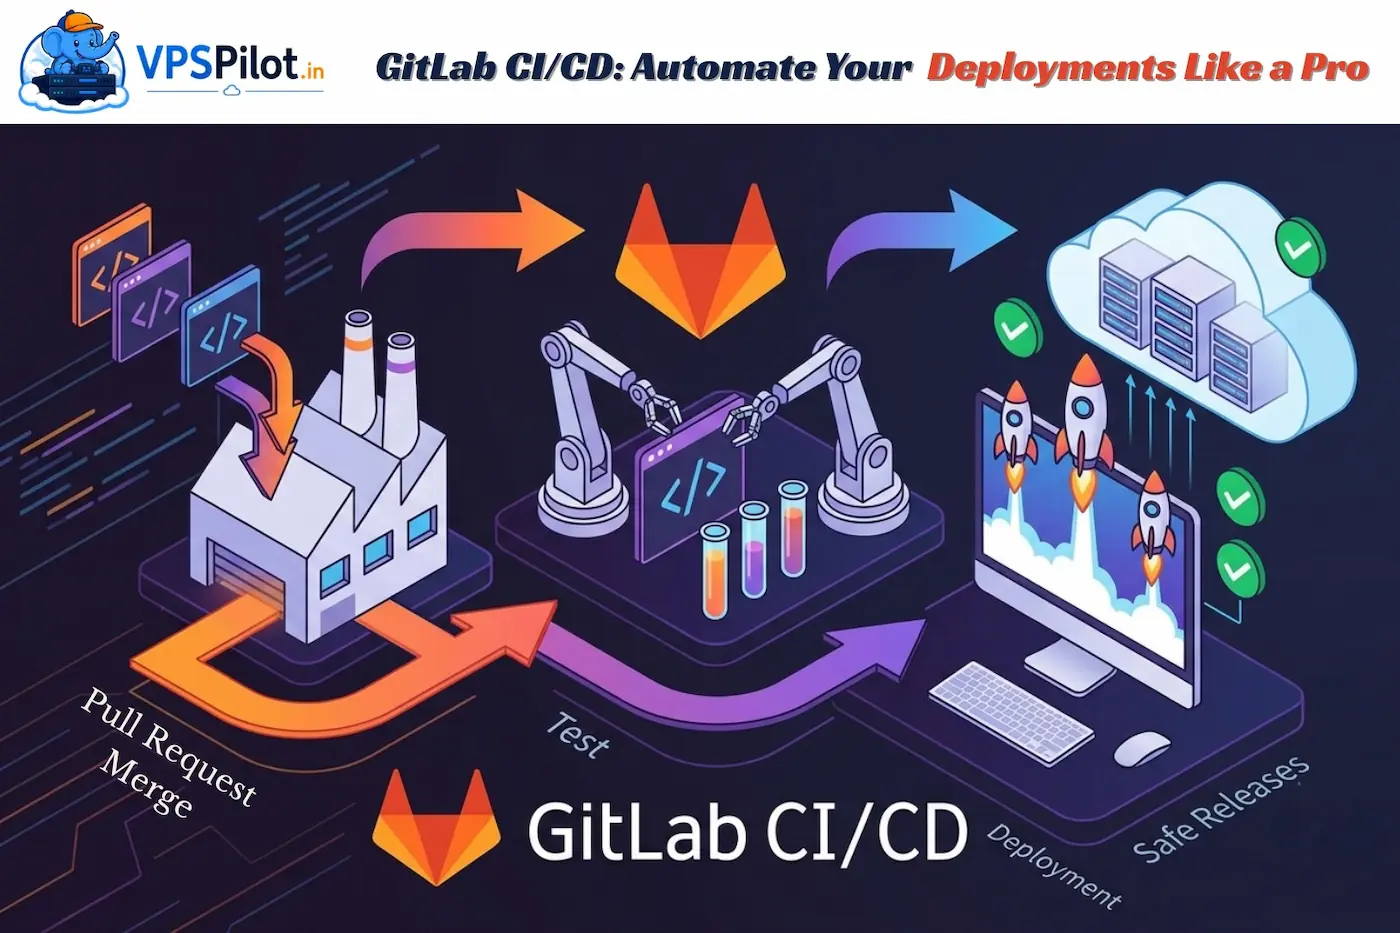
In modern software development, the gap between writing code and delivering it to users must be as small as possible. Manual deployments are the enemy of speed, consistency, and reliability. They introduce human error, create bottlenecks, and make it difficult to scale.
Automating your deployment workflow—often referred to as Continuous Deployment (CD)—transforms your release process from a high-risk event into a routine, low-stress operation. GitLab CI/CD provides a powerful, integrated platform to orchestrate these workflows directly from your repository.
The Anatomy of an Automated Deployment Pipeline
Before diving into the configuration, it is essential to understand the core components that make up a GitLab CI/CD pipeline. These components work together to ensure your code is validated, packaged, and shipped safely.
Pipeline
The top-level component that defines the entire CI/CD process. Events like a code push or a merge request trigger it.
Stages
Logical groupings of jobs. Standard stages include:
- Build — Compiling code
- Test — Running automated tests
- Deploy — Pushing to infrastructure
Stages execute sequentially.
Jobs
The individual tasks executed within a stage. Jobs within the same stage run in parallel, provided there are enough runners.
Runners
The lightweight agents that actually execute the scripts defined in your jobs.
.gitlab-ci.yml
The YAML file at the root of your repository that acts as the blueprint for your entire automation.
Step 1: Laying the Foundation
To automate deployment, you must first have a structured repository and an active runner. GitLab.com provides shared runners by default, which are perfect for getting started. If you are using a self-managed instance or have specific infrastructure needs, you may need to register your own runner.
Checklist
-
Check for runners:
- Navigate to Settings → CI/CD in your project sidebar.
- Expand the Runners section.
- Ensure at least one runner is active.
-
Create the blueprint:
- Create a file named
.gitlab-ci.ymlin your project’s root directory. - This file will contain the instructions for GitLab to follow.
- Create a file named
Step 2: Defining the Stages
Your configuration file needs to define the order of operations. By default, GitLab expects build, test, and deploy stages, but you can define custom stages to suit your specific workflow.
stages:
  - build
  - test
  - deploy
This ensures that the deploy stage only triggers if all jobs in the build and test stages succeed. This is a critical safeguard: you never want to deploy broken code.
Step 3: Configuring the Deployment Job
Once your application is built and tested, it is time to deploy. A typical deployment job requires access to your target infrastructure (e.g., AWS, Kubernetes, or a remote server). To do this securely, you must use CI/CD Variables.
Managing Secrets Securely
Never hardcode credentials like SSH keys, API tokens, or database passwords in your YAML file.
Instead:
- Go to Settings → CI/CD → Variables.
- Add your secrets as Masked and Protected variables.
- Access these variables in your script using the syntax:
$VARIABLE_NAME
The Deployment Job Structure
Here is a conceptual example of a deployment job:
deploy_production:
  stage: deploy
  script:
    - echo "Deploying to production server..."
    - scp -i $SSH_PRIVATE_KEY ./build_artifact.tar.gz user@prod-server:/var/www/app
    - ssh -i $SSH_PRIVATE_KEY user@prod-server "tar -xzf /var/www/app/build_artifact.tar.gz -C /var/www/app/current"
  rules:
    - if: $CI_COMMIT_BRANCH == "main"
The rules keyword is essential here. It ensures that the deployment job only runs when you push code to the main branch, protecting your production environment from experimental changes on feature branches.
Best Practices for Robust Pipelines
Automation is only as good as the reliability of your pipeline. To maximize the effectiveness of your deployment workflow, consider these best practices.
1. Build Once, Deploy Many
Do not rebuild your code for every environment. If you are using Docker, build your image once during the build stage, tag it, and push it to the GitLab Container Registry.
Pull that same image for staging and production deployments. This guarantees that the exact code tested in staging is what ends up in production.
2. Implement Automated Rollbacks
Even with the best tests, mistakes happen.
Configure your deployment scripts to support rollbacks. If a deployment fails or health checks (e.g., a simple HTTP 200 check) fail after deployment, the pipeline should trigger a script to revert the server to the previous stable artifact.
3. Use Environments and Review Apps
GitLab provides built-in support for environments. By defining them in your YAML, you gain a dashboard to track which commit is currently deployed where.
Review Apps
For Merge Requests, you can spin up temporary environments to preview features before merging. This significantly reduces the time spent on manual QA.
4. Database Migrations
Treat database schema changes as part of the pipeline. Automate your migration scripts so they run before or during deployment.
Ensure your migrations are backward-compatible so the old version of the application can continue to function while the migration is in progress.
Conclusion
Automating your deployment workflow with GitLab CI/CD is an investment that pays dividends in team velocity and software stability. By codifying your deployment process, you eliminate manual error, provide clear visibility into your release history, and free your developers to focus on building features rather than wrestling with servers.
Start small: automate a basic file copy to a test server, refine it with tests and environment rules, and gradually scale your pipeline to handle complex, multi-stage production releases. Your journey toward a more reliable deployment process begins with that first .gitlab-ci.yml commit.